How to Create a Digital Planner in 4 Simple Steps (Plus a DFY Option!)
In today’s digital world, planners aren’t just for paper lovers anymore! Digital planners have become a must-have for goal-setters, entrepreneurs, and anyone looking to stay organized without the clutter of physical notebooks. If you’ve ever wanted to create your own digital planner (either for personal use or to sell online), you’re in the right place!
The best part? You don’t need to be a tech genius or a design pro to create one! I’ll walk you through four simple steps to bring your digital planner to life. And if you’re short on time, we also offer Done-for-You (DFY) digital planners so you can start using (or selling!) them instantly.
Step 1: Decide on Your Planner’s Purpose & Layout
Before jumping into design mode, think about who your planner is for and what purpose it will serve. Are you creating a daily planner, goal tracker, fitness journal, financial planner, or a business planner?
👉 Questions to ask yourself:
-
Who is this planner for? (Entrepreneurs, students, moms, fitness lovers, etc.)
-
What sections do I need? (Daily/weekly/monthly pages, to-do lists, budgeting sheets, etc.)
-
Will it be dated or undated?
-
Do I want to include interactive elements like clickable tabs?
Once you have a clear vision, it’s time to bring it to life!
Step 2: Design Your Planner Pages
Now for the fun part—designing your planner! You can use tools like Canva, Adobe InDesign, or Keynote to create your pages.
✅ Tips for an easy-to-use digital planner:
-
Keep it minimal yet functional (too many designs can be distracting)
-
Use pastel or neutral colors for a calming look
-
Make sure text and elements are clear and easy to read
-
Add hyperlinked tabs to make navigation easier (especially for planners used in apps like GoodNotes or Notability)
Not a designer? No worries! We offer DFY digital planners that you can instantly download and customize!
Step 3: Convert Your Planner to a Digital Format
Once your design is complete, save it as a PDF (with hyperlinks enabled if you added clickable tabs). This format works best for digital planning apps like:
-
GoodNotes (iOS)
-
Notability (iOS)
-
Xodo (Android)
-
Noteshelf (iOS & Android)
Test your planner before sharing or selling it to make sure all links work and pages flow correctly!
Step 4: Sell or Use Your Digital Planner
Now that your planner is ready, you can either use it yourself or start making money by selling it! 🚀
✅ Where to sell your digital planner:
-
Etsy (a great marketplace for digital downloads)
-
Your own website or blog
-
Beacons, Gumroad or Shopify
-
Pinterest & Instagram (to promote your planner and drive traffic to your shop)
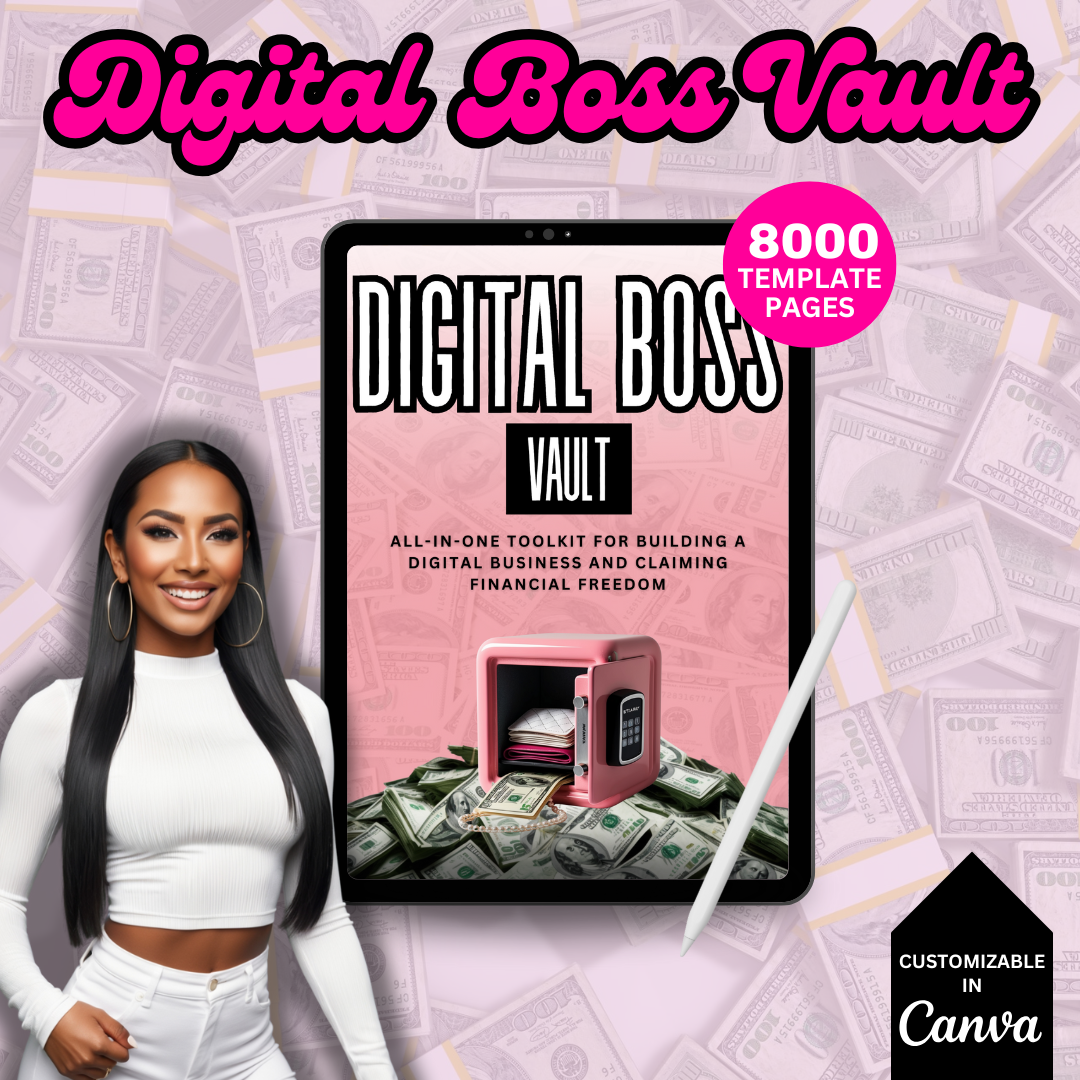
If selling sounds like too much work, we’ve got you covered! Our DFY digital planners are ready to sell, brand, or use—so you can skip the design process and start making money right away.
Creating a digital planner doesn’t have to be overwhelming! By following these four simple steps, you can design a planner that’s both beautiful and functional. And if you’d rather save time and energy, check out our DFY digital planners—all the work is done for you, so you can focus on what matters most!
👉 Want to get started with a ready-made digital planner? Browse our collection today!
Would you try making your own digital planner, or do you prefer the DFY route? Let me know in the comments!